Having spent a few days recovering from the two day trip to the NEC Birmingham Hobbycraft, Sewing for Pleasure, Embroidery and Fashion and Cake International, I then worked on a dress for a wedding which was an intense week but a very valuable one. Unfortunately I then came down with the flu and have just started to get over it and am able to sit a type while having a sofa day. So my blog is a long time over due. But I started on my return from the NEC finding homes for all my lovely purchases and testing out a few items.
While at the NEC I spent quite a bit but a lot of the purchases were for set items up my home business to expand my card making abilities. So in this blog will be a fairly long one with lots of pictures and I will cover what I got at the NEC and I will upload a couple others this week catching up to where I am today. I have split my two days up and took photos of purchases.
Day One
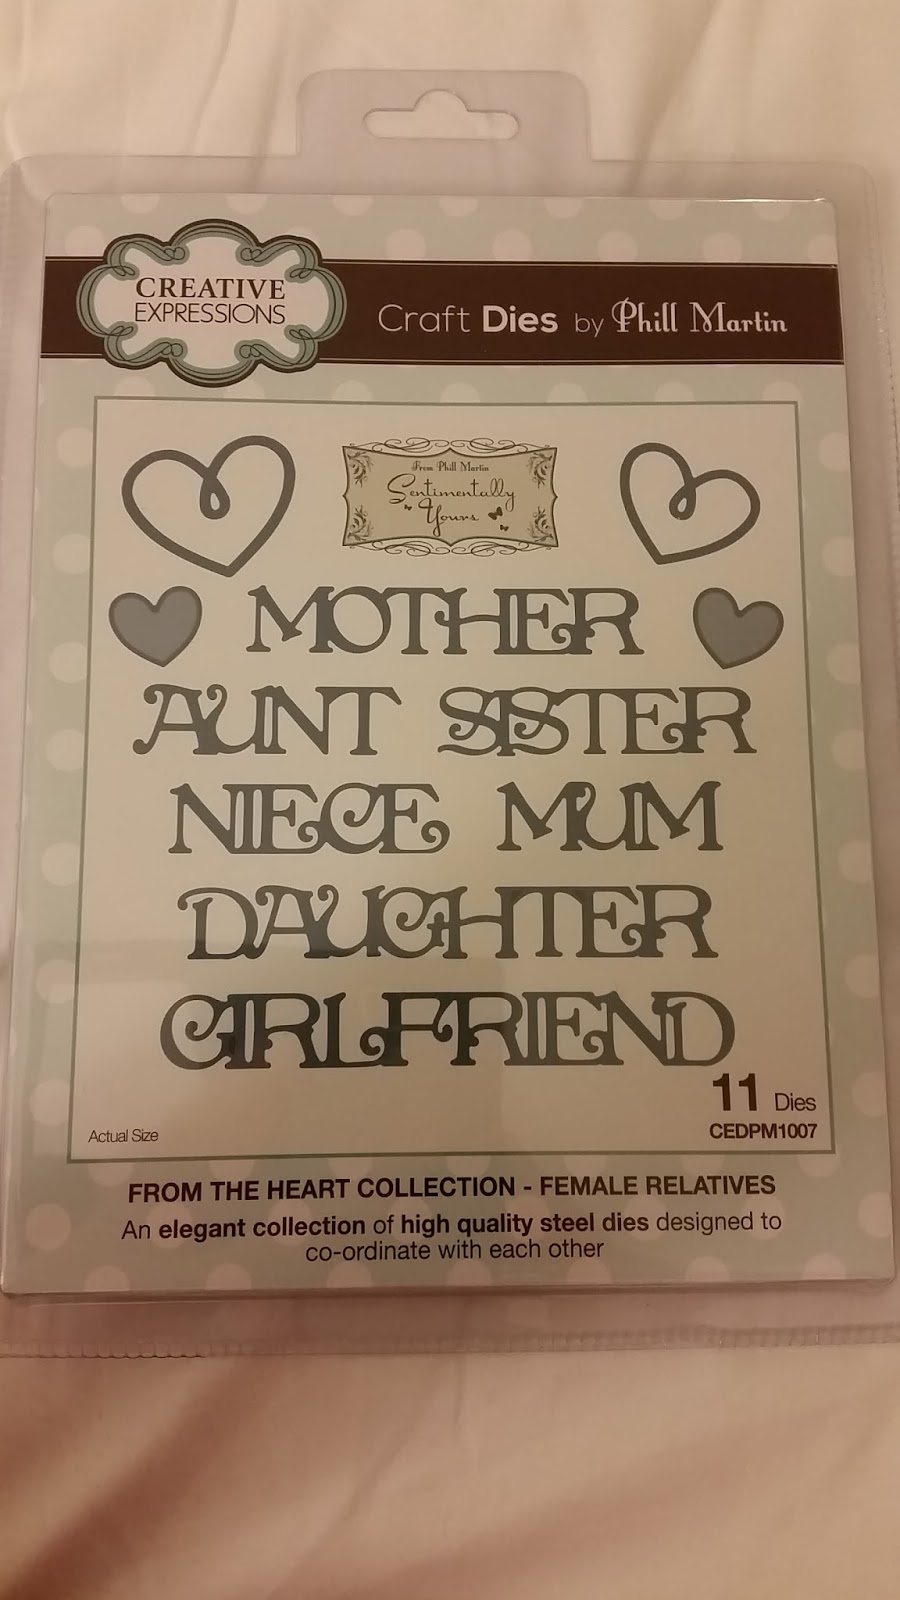
So I arrived on the start (Thursday) with my mum and we parked at our hotel and made our way to the NEC. We started day one by working our way around Hobbycraft show, then on to the Sewing for Pleasure. After searching through many stalls I came across some dies which I have been looking for and ended up purchasing the Creative Expressions Craft Dies with Relatives names.
 |
| Male Relatives |
 |
| Female Relatives |
 |
| Grandparents |
I then continued along and Met Wendy from Card-io who was doing demonstrations on how to get the amazing effects on her beautiful cards. I knew that I wanted to purchase some of her stamps but as the show had only just opened and everyone had reached this stall together it was a bit crazy so I added this to my list of stalls to return to and returned on Day two and purchased the following.
 |
Small Medium and
Large Stamp Pegs |
 |
| Card-io Majestix Sweet Strawberries and Summer Meadow |
 |
| Card-io Cottontail Capers and Woodland Walks |
 |
| Card-io Tall Trees |
 |
Docrafts Artiste Spritzing Ink
Forest Green and Gold Stone |
I stocked up with lots of useful items at 'Every Craft a Pound', one of my favourite stalls for stocking up on crafting items.
 |
| Dovecraft 3D Pearl Effect Colours |
 |
| XCut Dies Snowflake and Butterfly |
 |
Westcott Craft Knife and
replacement Blades |
 |
| Westcott Scissors |
In addition to these items I also picked up some double sided tape, 3 Precision Applicator bottles, a set of 12 Derwent Pastel Pencils Skin tones as I want to try and work on my portrait skills, 5 different Royal Soft-grip brushes, Paper and card stock and finally in the Hobbycraft show I picked up 2 Really Useful Storage boxes one with 4 trays in and the other with a custom made cotton tread holders.
 |
| Jersey Fabric |
After a rest break of water and a sit down we moved on to Sewing for Pleasure. I bought less in this show as I was looking for specific items. I was looking for fabric to use to make the final dress for the up and coming friends wedding. I found this fabric which was a jersey fabric which I loved the look of and would work with the dress I had practised. As we continued round we found the Simplicity Stall and we began searching through the many boxes. Now last year I think we ended up buying about 20 different patterns and had decided we didn't need many patterns this year. However when we found the new to us 'Amazing Fit Collection' from Simplicity we got excited and went on a hunt for all these patterns and ended up with about 10 in our hands. We carefully went through the patterns we had and refined out selection down to four patterns.

This then gave me a dilemma as I thought I knew which dress i was buying fabric for but now I had new styles I really liked and that evening made the decision to change to dress pattern Simplicity 2247 which gave me day two to find fabric. I also picked up a few other sewing bits such as little more hand scissors (which I had previously picked up last year for cross stitch but wanted some to keep with my sewing machine) and what was called a pink poky thing for poking out corners of cushions and other awkward folds.
Day Two
We started day two with Cake International and made our way around the competition and exhibition area where the competition pieces where being judged. Now I'm only just starting with cake decorating so this was more of a trip into what the height of the level that can be achieved. We started going around the circus carnival tent where the cakes where themed to circus and carnival theme. I will add a few of my favourite photos at the end of this blog as I have so many. We continued around Cake international and I purchased a Fondant Ribbon Cutter/ Embosser set for £10 so I can have a play along side the items I got for Christmas and have a go at decorating cakes. I also Picked up 3 different Windsor Cutters and ejector sets (Multi Blossom, Multi Daisy and Multi Star) again to have a practice with.
After watching a demonstration of making Fabergé style eggs and tea cups and saucers out of fondant icing using Easter egg moulds and old teacups and saucers I purchased a little Wilton Dust-n-Store pot for applying and storing icing sugar or corn flour.
Now I love subscription boxes not that I can afford many. I currently subscribe to Scrawlrbox which is a monthly art supplies box, now when I found the stall for the newly launched Bake Box and was told I could get the already released box 1 and the up and coming box 2 for just £20 plus p&p. I thought I was worth a trial. So I signed up for box by box subscription. Now The Bake Box is sent out every 2 months at £14.99 per box plus p&p. I was able to take home my box 1 with me and I am currently waiting on a re-delivery of box 2 which should arrive on Wednesday as I missed last weeks delivery being in bed ill.
So from here there was one talk we wanted to watch and we had sometime to pass so we went on a mission back to Sewing for Pleasure to hunt down some fabric and lining fabric for my dress and we were successful. I picked up a two tone blue and blackish green poly satin and black dress lining. We also sat in on the full demonstration of 'The Lutterloh System' which we caught the end on day one. A very interesting and temping system which we may later invest into but we decided that we would sleep on this and buy it at a later date or show. We also walked about Fashion and Embroidery while we were back over at Sewing for Pleasure.
 |
| Eddie Spence MBE at Cake International Friday 18/03/16 Theatre stage |
We made our way back to Cake International and had a rest while we watched the talk on the Theatre stage by Eddie Spence MBE who is a master in Royal Icing and he did a demonstration of the art of different piping techniques with Royal Icing and made a Jemima puddle duck cake. He is very lovely gentleman to meet with a proud Scottish heritage and it was a great honour to meet him.
 |
| Eddie Spence MBE Proud of his Scottish Heritage |
 |
| Jemima puddle duck cake |
I will end this blog with just a few of my favourite cakes from the competition entries of Cake International March 2016 NEC as promised above. Thanks for reading, please do at comments to my blogs if you have any questions and speak soon in my next blog.
 There has been a
delay with my blogs lately as both my laptop and my desktop computer have both
decided to give up the ghost and I've been working on them to try and get them
up and running. But as they are in progress I have decided to attempt to write
a blog on my phone. First time for everything, So here goes.
There has been a
delay with my blogs lately as both my laptop and my desktop computer have both
decided to give up the ghost and I've been working on them to try and get them
up and running. But as they are in progress I have decided to attempt to write
a blog on my phone. First time for everything, So here goes.  From here I
proceeded by taking a trace of the final sketch and transferring it on to some
water colour paper. I started working the piece in water colour but
couldn't get the colours saturation I was looking for with the bright colours
of the 80s clothes to I decided to work with my Derwent Inktense pencils which
gave the saturation I wanted. I went ahead and added a background as the
play takes place in a village hall, but felt I preferred the design with no locational context. As this drew too much focus away from the original sketch. I again transferred the design to a new piece of paper but
this time I used Bristol board for a smoother finish and worked the piece
with the Inktense pencils.
From here I
proceeded by taking a trace of the final sketch and transferring it on to some
water colour paper. I started working the piece in water colour but
couldn't get the colours saturation I was looking for with the bright colours
of the 80s clothes to I decided to work with my Derwent Inktense pencils which
gave the saturation I wanted. I went ahead and added a background as the
play takes place in a village hall, but felt I preferred the design with no locational context. As this drew too much focus away from the original sketch. I again transferred the design to a new piece of paper but
this time I used Bristol board for a smoother finish and worked the piece
with the Inktense pencils. 
 The whole process
from start to finish took about a week. The poster has now been printed
and published and is now up and it's one of the first things I've done that has
been viewed by the public which was challenging and has given me a boost to my
confidence to put more of my art work out for people to view. So I will be
doing more sketching and artwork to continue to build my confidence. I would
love any feedback people may have or even ideas of things to draw to challenge
me to draw things I haven't done before.
The whole process
from start to finish took about a week. The poster has now been printed
and published and is now up and it's one of the first things I've done that has
been viewed by the public which was challenging and has given me a boost to my
confidence to put more of my art work out for people to view. So I will be
doing more sketching and artwork to continue to build my confidence. I would
love any feedback people may have or even ideas of things to draw to challenge
me to draw things I haven't done before. 


